 |
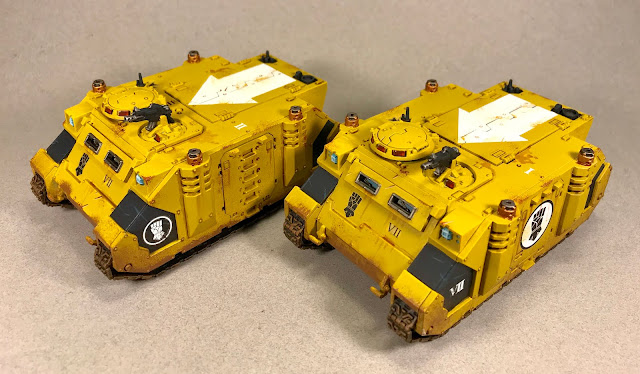
| My armored spear head for my Imperial Fists grows! |
I've added some much needed armor and mobility to my Imperial Fists army in the form of a pair of Rhino APCs and I thought I'd share a quick step-by-step of the whole process. The building of the kits is totally standard, and everything went together quickly. After that, I primed the hulls white for two reasons: first, a good priming coat is always a good thing and two, the white would form the basis for the tactical insignias on the top doors of the transport.
After the primer was dry, I took some painters tape and masked out the arrows. I laid the tape out on a piece of glass before I cut it to shape. Then I transferred the mask from the glass to the actual tank.
The tanks were then sprayed with Testor Model Master's Afrika Mustard. Once that dried, I applied several coats of GW Yriel Yellow with an airbrush. Once all that was dry, the tape was removed and the white tactical arrows were revealed. The arrows weren't perfect, but any over-sprays could be easily cleaned up with some Vallejo White.
I then did some panel-lining with GW Agrax Earthshade to create some definition between armor plates and add some initial weathering. Some black panels were added and then some chipping was added with a sponge and Vallejo Dark Flesh. Some chipping on the tactical arrows were added with Yriel Yellow. This helped age the model and hide any bleed-through or mistakes from the initial masking.
Next was finishing up some details like painting the smoke stacks, view ports and tracks. Weathering was added to the bottom of the tank with a heavy drybrush of Vallejo Beasty Brown. Decals from the Forge World sheet for Imperial Fists were then added.
I added some final weathering with streaks of GW Reikland Flesh Shade and a few chips on the black areas with P3 Coal Black. And they were done!
Cheers!


