This week, I managed to get a lot of work done on my Genestealer cult's Goliath truck. I plumbed for the Rockgrinder variant based solely on the fact that the dozer blade with all the grinding drills on the front is so damn cool. I opted to leave the back of the vehicle exposed so that I could put other crew models on it. I know its not technically how the vehicle is supposed to be built for 40k, but I just really built it for how cool I thought things would look - not for the optimal build in the game.
 |
From the first time I saw the model, I was reminded of the Martian mining
vehicles in the original "Total Recall" movie. Love at first sight. |
I assembled the kit in about 4-5 hours - there are a ton of parts and lots of options. I don't think I've built a Games Workshop tank kit in at least a decade - and they've learned a lot in that amount time. I tried to leave certain elements separate as sub-assemblies so that I could get to all the different parts easier. I left the big flame-thrower, the dozer blade, the wheels, the crew and the main chassis all as separate
elements.
 |
The dozer blade was dry brushed with multiple shades of metal, then I painted the
hazard stripes and yellow over top (leaving metal showing). Finally the weathering
was dry brushed on. |
 |
The flamethrower was pretty straight forward to do. I glazed purples onto the
front of the weapon to show heat stress on the metal. |
 |
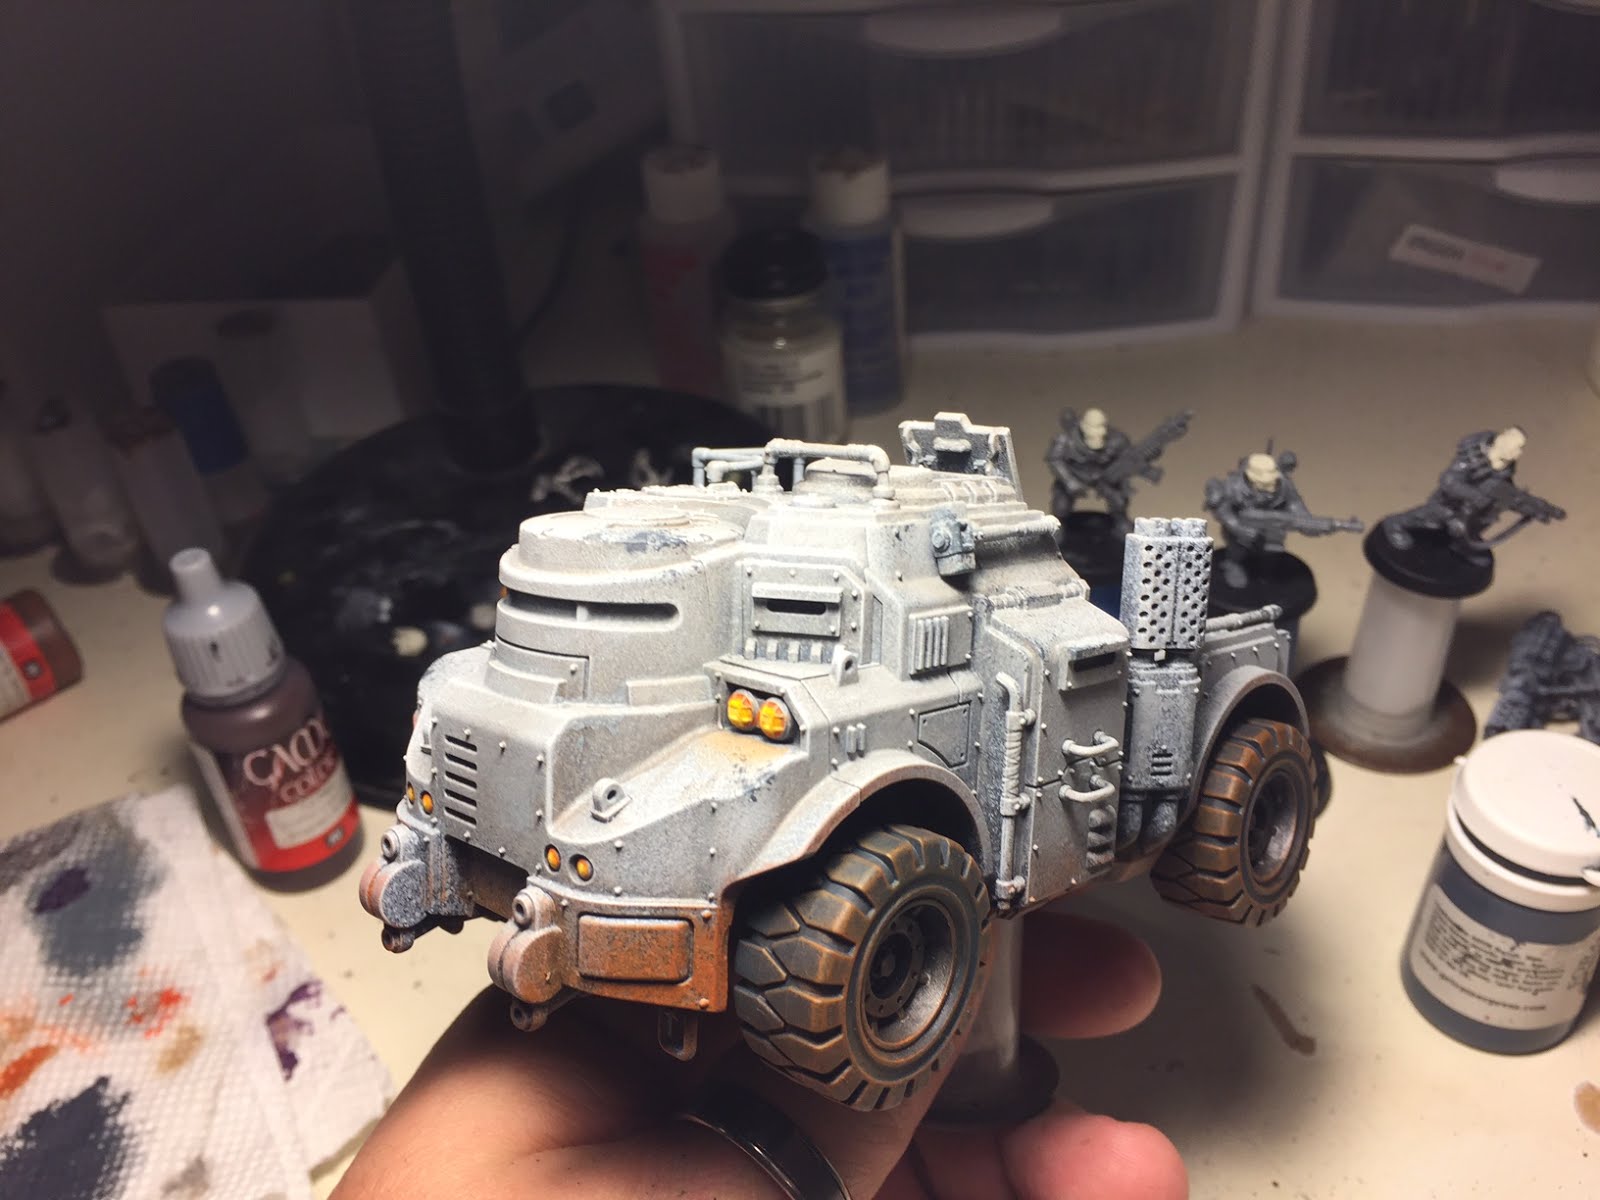
Here I've glued the tires on after I laid down the base color and weathering on
the main hull. |
I knew I wanted the vehicle to feel old and well-worn, so I really tried to go to town with weathering and chipping. The gene stealer neophyte color scheme I'd chosen really felt like Rebel flight crews from Star Wars, so I looked at stills and models of X-Wing fighters from the original trilogy. Once I was ready to paint; my first step, after assembly, was to prime the vehicle black. This was followed by a coat of grey spray and then a pass with white. After that, Everything was blended together by carefully drybrushing the whole thing from grey to white.
 |
I added a lot of rust streaks by thinning down Brown Ink and streaking it on with
a detail brush. |
All of the weathering was done with a big, soft dry brush and the chipping was done with a bit of torn foam from blister packs and stippling with a small brush. I was really trying to push the idea of a vehicle that worked in an iron mine - where iron oxide dust and the rust on the vehicle became indistinguishable from each other. This would also help tie the vehicle into my army's orangish color scheme.
 |
| Everything put together. |
 |
| All that's missing is the crew. |
 |
| I love that back bed. It reminds me of a shitty truck my dad owned when I was a kid. |
I still have to do the actual crew - the machine gunner, the flamethrower operator, and a handful of hybrids hanging out on the crew deck. Hopefully that shouldn't take me too much longer. I plan on having that done by next week with any luck!
-Cheers!