 |
| Now I have something proper to fight over! |
All three buildings began life as plastic electrical junction boxes. These are readily available at any hardware or DIY store in the Electrical Aisle for next to nothing. Most run about $2-$3 US and are available in a wide variety of shapes and sizes. The key is find interesting configurations that suggest something to you.

This junction box suggested a sort of hab unit to me. I added parts that I scrounged from my bits box - lengths of plastic rod, old slotta-bases, parts from dimmer switch I found for $1.50. I also cut out a door from thin cardboard and made a set of stairs for either side of the "landing" on the front.


While purchasing the junction boxes, I also browsed the aisle for some connector pieces that I thought could be radar installations. So this box became a communications shack. Again, I just added junk where I could. The idea here is to just break up the broad surfaces with techno-texture to create areas of interest. I purposely avoided selecting sculpted plastic model parts though, as these always seem to clash with the homemade parts in level of detail.


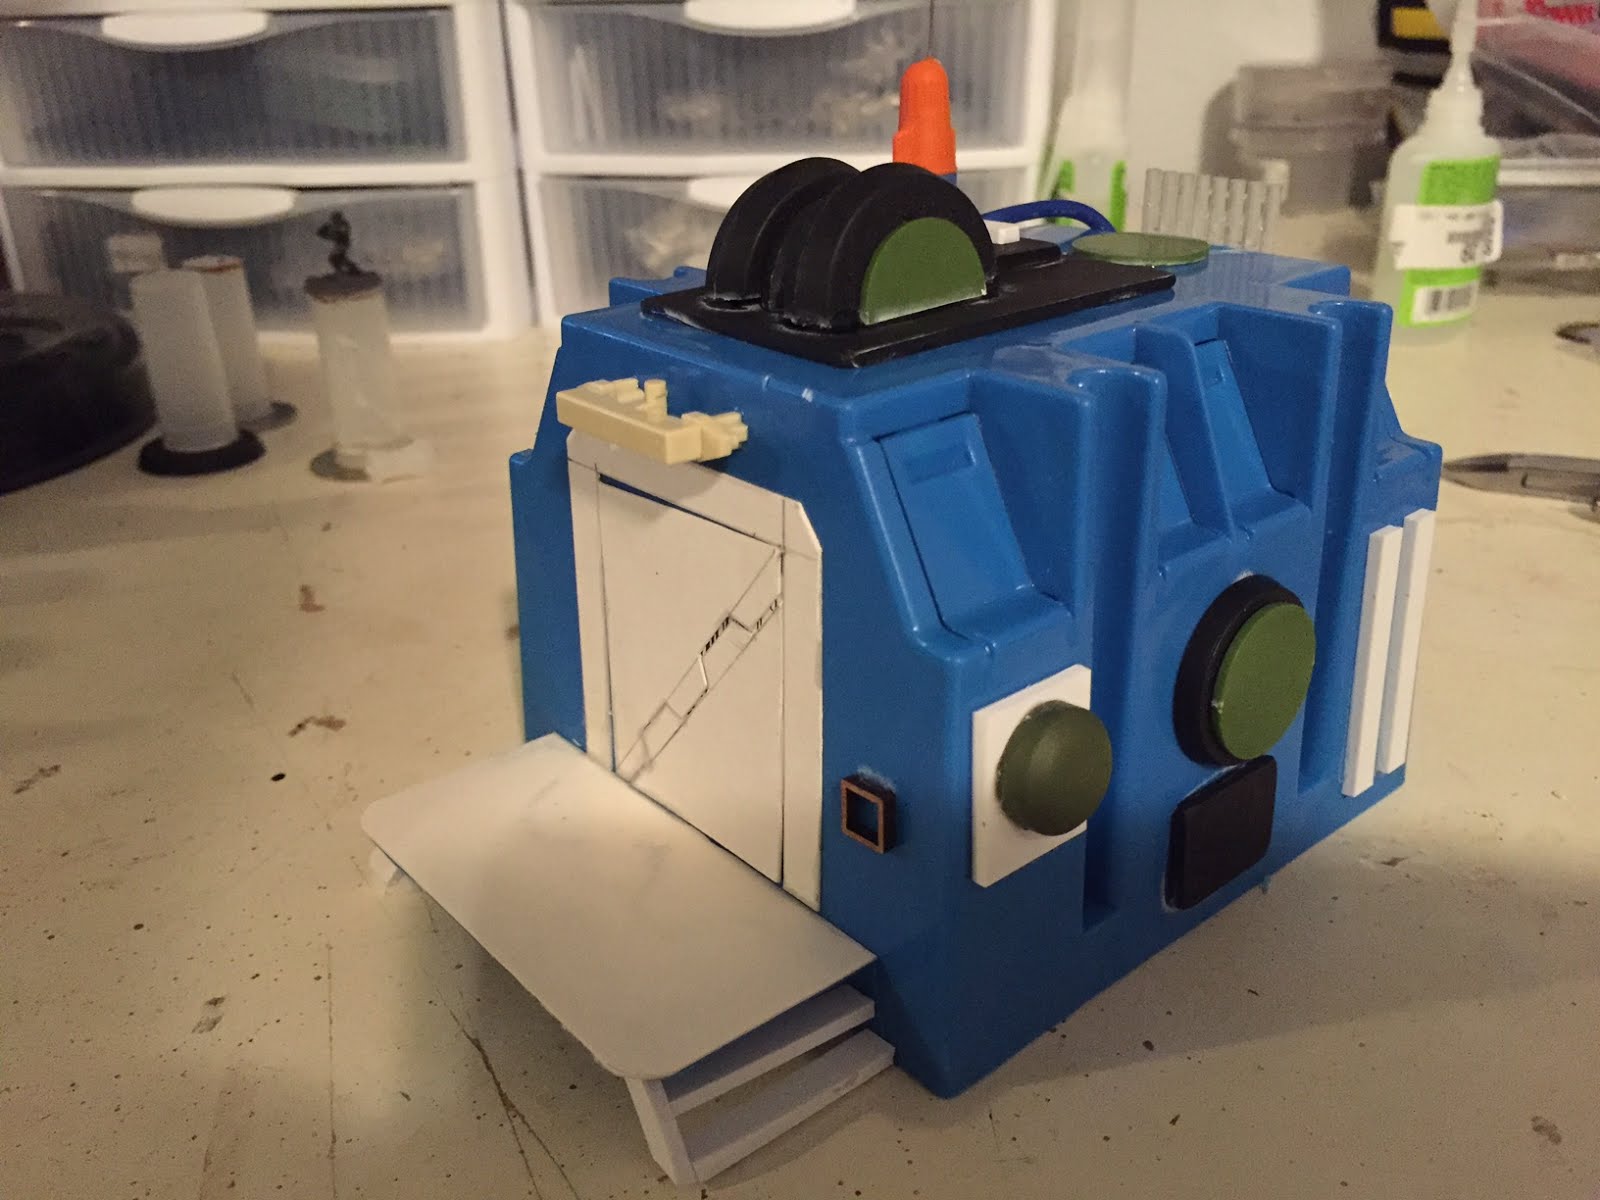
This box I turned into what I've dubbed the Hephaestus Class Omni Forge - some kind of industrial thing. Again, just more junk from the Electrical Aisle glued onto the box. Painting these things is super-quick. 90% of the work is done with spray paint. Dark colors to start, then lighter colors dusted over the top. I've tried varying the color on each building - having all your buildings in grey or gunmetal colors gets SUPER boring to look at and it isn't really what we are used to seeing in the real world. Each building took maybe an hour to build and an hour to paint. They were perfect evening projects. Here they are all finished up.


I built these three building for less than $20US and about 6 hours of work spread out over a couple of nights. Have a go at doing this yourself - its cheap, fun and looks loads better and is more durable than using the styrofoam from that new speaker system that you found out back in the work dumpster.
I've also managed to get some more work done on my Orks. I've added 10 Shoota Boyz and a Nob for them along with two close combat themed Nobs that will get added to my Slugga Boyz units.
 |
| Love the cyber 'ead for the Nob. |
 |
| I used some left over Stormboy 'eads to add variety. |
 |
| The Powa Klaw will help add some much needed anti-vehicle punch to the Slugga boyz mobs. |
 |
| Another Powa Klaw. This is going to be a pattern. |
 |
| Now the Boyz have a proper place to pillage and loot! |
Cheers!
The scenery looks great and I'm loving watching your Ork army grow. Glad you went for 32mm bases on the Nobz - I started re-basing all mine when they came out!
ReplyDeleteThanks! Glad you're digging it all. The 32s just feel right - I can't imagine trying to balance those models on 25s in an actual game.
ReplyDelete